DIY Paper Confetti for Tables, Jars and Clear Favor Bags
Turn tissue and cardstock scraps into confetti with a hole punch and scissors, mix colors in a pleasing ratio and use it on tables, in jars and in favor bags.

Tutorial at a glance
Materials
- Tissue paper scraps or sheets
- Cardstock scraps in the party colors
- A tray or shallow box to work over
- A jar or zip bag for storage
DIY paper confetti is the one party craft that can be made entirely from scraps. The offcuts from a banner, the tissue left over from pom-poms and the strip trimmed off a favor tag all become confetti with a hole punch or a pair of scissors, and the colors automatically match everything else in the room.
Handmade confetti is used here as a decoration: scattered down a table, layered in clear jars, sealed into see-through favor bags or glued onto signs. It is not meant for throwing, which keeps cleanup to a few minutes.
What you need
- Tissue paper and cardstock scraps in the party colors
- A hole punch
- Sharp scissors
- A pencil, plus coins and small lids to trace
- A shape punch (star or heart), only if you already have one
- A shallow box or tray to work over, and a jar or zip bag for the finished confetti
Tissue or cardstock?
The two papers behave very differently, and most mixes are better with some of each.
Tissue confetti is light and slightly translucent. It floats when it falls, settles in soft layers and clings to tablecloths, sleeves and anything with static. That cling is useful inside a jar or a bag, where it presses against the clear sides, and a nuisance on an open table near a door or a fan.
Cardstock confetti is flat, opaque and stays where it is put. It is far easier to pick up afterward and the pieces can be glued to other projects. It takes more effort to cut, since a hole punch manages only two or three layers at a time.
Five ways to cut confetti
Work over a tray or a shallow box so the pieces collect in one place.
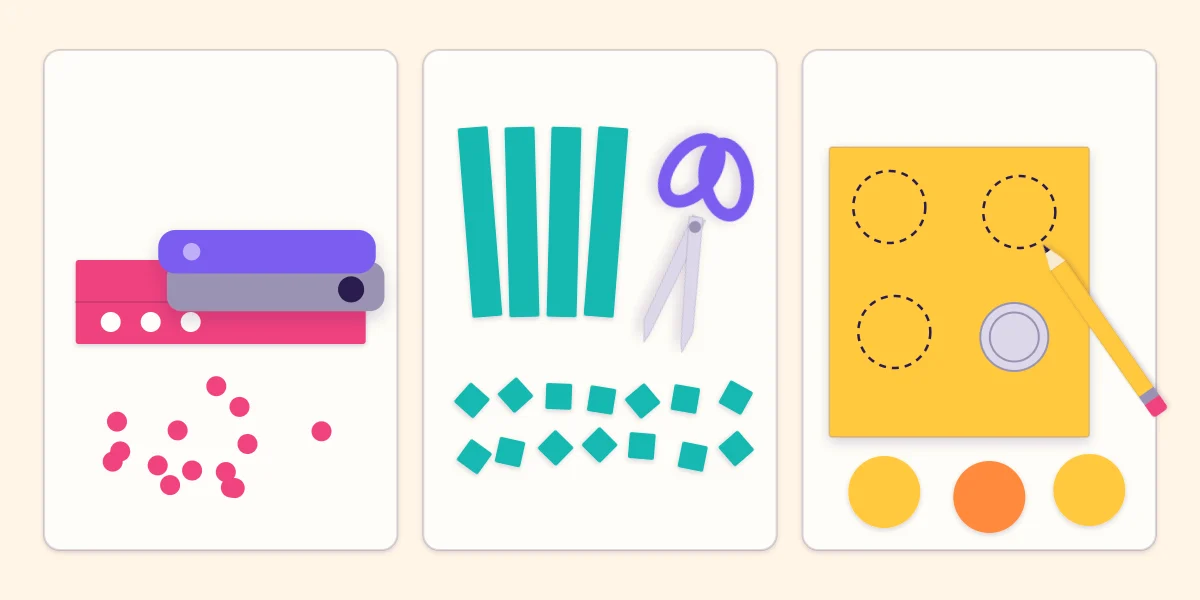
- Hole-punched dots. Fold a strip of tissue over on itself until it is six or eight layers thick, then punch along it. Each squeeze drops a little stack of dots; rub the stacks between your fingers to separate them.
- Strips into squares. Stack four to six sheets of tissue, cut the stack into strips about 1/2 in (12 mm) wide, then gather a few strips and snip across them into squares. This is the fastest way to make a large quantity.
- Traced circles. Trace coins and small lids onto colored paper with a pencil and cut the circles out by hand, folding the paper double to get two at a time. Circles of about 3/4 to 1.5 in (2 to 4 cm) add scale to a mix of small dots.
- Punched shapes. A star or heart punch makes tidy accent pieces from cardstock. Without one, cut small triangles and diamonds from a strip instead.
- Sprinkle strips. Cut cardstock into slivers about 1/8 in (3 mm) wide and 1 in (2.5 cm) long. A handful of these among the dots gives the mix direction and movement.
| Method | Piece size | Speed | Best paper |
|---|---|---|---|
| Hole punch | About 1/4 in (6 mm) dots | Slow for large amounts | Tissue, folded |
| Strips into squares | About 1/2 in (12 mm) | Fast | Tissue, stacked |
| Traced circles | 3/4 to 1.5 in (2 to 4 cm) | Slow | Cardstock or paper |
| Shape punch | About 1/2 to 1 in (12 to 25 mm) | Medium | Cardstock |
| Sprinkle strips | About 1/8 x 1 in (3 x 25 mm) | Fast | Cardstock |
Tip
Empty the hole punch’s catch tray whenever you use it for other projects in the same colors. Those dots are finished confetti.
Mix colors that look planned
Equal amounts of every color tend to look like a spill. A blend with a clear lead color reads as a choice. Try this proportion as a starting point:
- One dominant color: a little more than half of the mix.
- One secondary color: about a third.
- An accent: a pinch, no more. White, a metallic paper or the brightest color in the room works well.
Mix sizes as well as colors. Mostly small pieces with a few large circles looks livelier than pieces that are all the same. Stir the batch in a bowl with your hand and pull out a spoonful onto white paper to judge it before making more.
Ways to use handmade confetti
Table scatter. Sprinkle a loose band down the middle of the table, denser at the center and thinning toward the ends, and keep it clear of the places where plates and cups will sit. Cardstock pieces suit this best.
Clear jars. Fill a jar a third of the way with confetti to make a colorful base that holds straws or dowels upright. This is the starting point for several DIY birthday centerpieces; add dry rice underneath if the jar needs weight.
Favor bags. A spoonful of tissue confetti in the bottom of a clear bag, or behind a cut window in a paper one, dresses up the package before anything else goes in. See the guide to decorating plain paper favor bags for the window method.
Confetti-dot garland. Larger traced circles can be glued in pairs along a thread, exactly as in the paper circle garland, for a strand of tiny dots to hang in front of a window or across a jar.
Glued-on dots. Dab a glue stick onto a sign border, a bag front or a painted cardboard birthday number and press cardstock dots into it, close together at one corner and sparser farther out.
Practical notes and cleanup
Keep scatter on tables rather than floors. On a hard floor paper pieces are slippery underfoot, and on carpet tissue works its way into the pile. Leave confetti off the food table, or confine it there to closed jars, so that pieces do not end up in dishes and drinks.
For cleanup, lift the tablecloth by its corners and funnel the confetti into a bag; it can be reused. A strip of tape wrapped sticky side out around your hand collects stray tissue dots faster than a cloth does.
Safety note
Confetti pieces are small, so keep loose scatter out of reach of very young children and supervise children who help with the scissors.
Storing leftover confetti
Store each color separately in a small jar or a zip bag and mix only what a project needs. A blend cannot be unmixed, and next year’s party may use a different palette. Keep tissue confetti loosely packed and dry; pressed into a tight bag, it creases and loses the lightness that makes it worth using.
Frequently asked questions
What paper is best for homemade confetti?
Tissue paper gives light, floaty confetti that looks good in clear jars and bags but clings to fabric. Cardstock gives flat, opaque pieces that stay put on a table and are easier to pick up. A mix of the two usually looks best.
How do you make a lot of confetti quickly?
Stack four to six sheets of tissue, cut the stack into strips about 1/2 in (12 mm) wide, then snip across several strips at once to make squares. This is much faster than a hole punch for filling jars.
How do you clean up paper confetti?
Keep it on a tablecloth so the cloth can be lifted by its corners and emptied into a bag. For stray tissue pieces, wrap tape sticky side out around your hand and dab them up.