Birthday Party Craft Station: How to Set Up a Make-and-Take Table
How to set up a craft table where each guest decorates one pre-cut paper item to take home, with supply trays, a sample, a spot for finished pieces and a simple cleanup plan.
Tutorial at a glance
Materials
- Pre-cut blanks: crowns, flat hat patterns, plain paper bags, tags or pennants
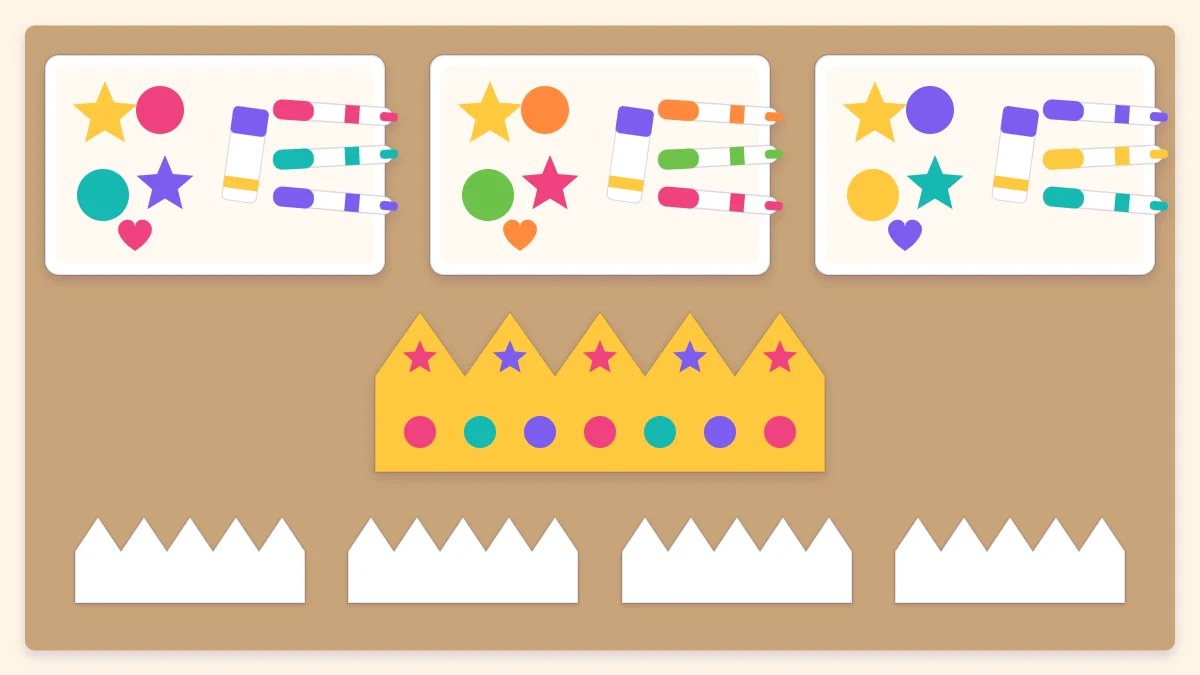
- Pre-cut paper shapes in three or four colors
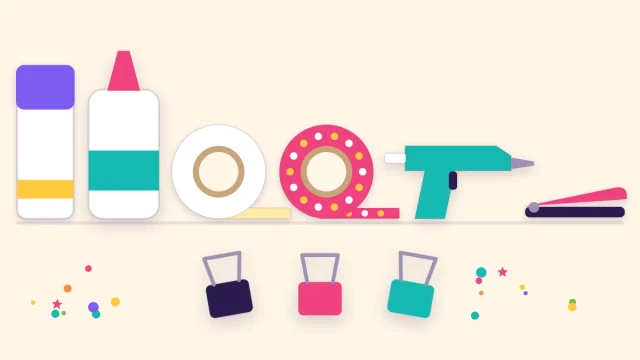
- Glue sticks, two per tray
- Washable markers, four per tray
- Round stickers
- Trays, box lids or paper plates
- Kraft paper to cover the table
A birthday party craft station is a table where each guest decorates one simple paper item and takes it home. It works when the project is small, everything is cut in advance, and nothing needs to dry. It struggles when guests have to wait for scissors, share one glue bottle, or leave a wet piece behind.
Almost all of the effort happens before the party. Once the blanks are cut and the trays are filled, the table more or less runs itself with one adult nearby.
Choose one project with no drying time
Offer a single project. Two or three choices sound generous, but they triple the cutting and slow the table down while guests decide. Pick an item that starts as a finished blank and only needs decorating, so that every guest ends up with something complete even if they add just three stickers.
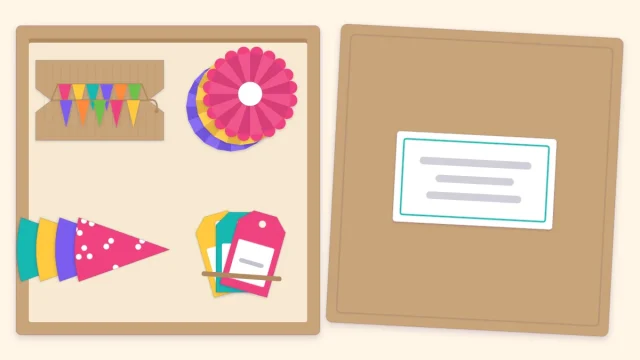
Good candidates are a paper birthday crown cut and sized ahead of time, a flat cone party hat pattern that gets decorated and then rolled by an adult, a plain paper bag using the ideas in the guide to decorating favor bags, a large tag, or a single pennant with a ribbon loop that doubles as a bookmark.
| Project | Prep before the party | At the table | Adult step afterward |
|---|---|---|---|
| Paper crown | Cut strips with points, add a slot and tab | Stick on shapes, draw patterns | Fit to the head and close |
| Cone party hat | Cut flat patterns, add tape to the tab | Decorate while flat | Roll, close and add ties |
| Favor bag | None beyond buying plain bags | Decorate the front | None |
| Large tag | Cut tags, punch holes, tie twine | Decorate one side | None |
| Pennant bookmark | Cut pennants, punch, add ribbon | Decorate both sides | None |
Bags and tags are the lowest-effort choices. Crowns and hats take more preparation but are worn straight away, which guests tend to enjoy.
Pre-cut everything
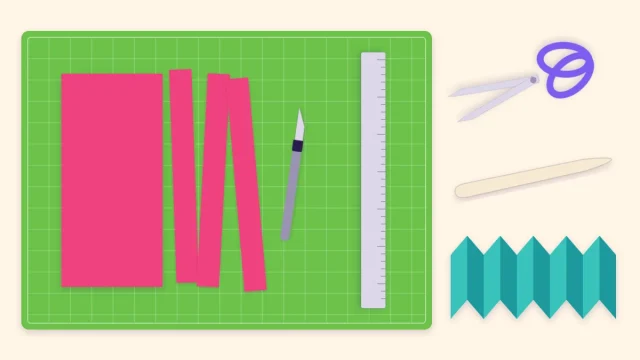
The table should have no sharp tools on it. That means every blank and every decorative shape is cut beforehand. For shapes, stack three or four sheets of paper and cut simple stars, circles, hearts and strips through all the layers at once; a hole punch gives a pile of small dots in a minute. Aim for a generous handful of shapes per guest, in the party’s three or four colors.
Make two or three spare blanks. Someone will tear one, and a spare saves the moment.
Safety note
If scissors are on the table at all, an adult stays with them. Stickers, paper gems and other small parts need care around young children.
What goes in each supply tray
Set out one tray for every two or three guests rather than one big pile in the middle. Shared trays within arm’s reach stop the reaching, standing and waiting that make a craft table feel chaotic. A baking sheet, a shallow box lid or a paper plate all work as trays.
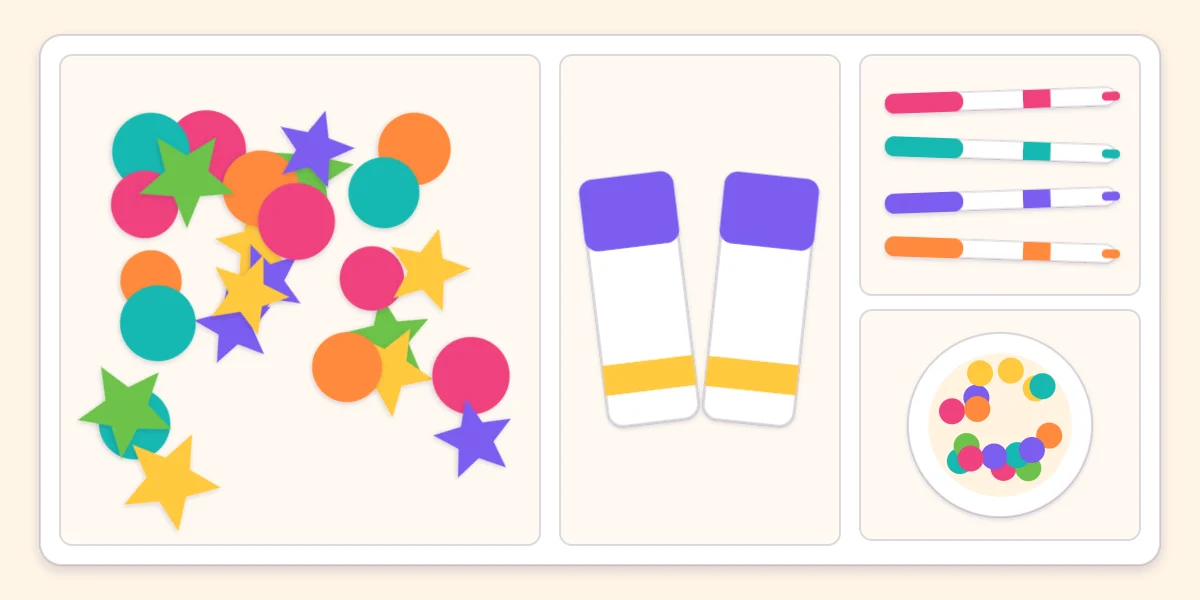
Each tray holds the same four things:
- a pile of pre-cut paper stars and circles
- two glue sticks
- four washable markers in different colors
- a small dish of round stickers
Glue sticks are the only glue on the table. They grab at once, add no moisture, and the piece can be picked up immediately. Liquid glue leaves puddles that are still wet when guests go home. Stickers matter more than they seem: they give the youngest or least confident guests a way to finish quickly.
Lay out the table
Cover the table with kraft paper or the plain side of wrapping paper, taped underneath at the corners. It protects the surface from marker, and at the end it rolls up with the scraps inside.
- Place the blanks along one side or at each seat, so nobody has to ask for one.
- Space the trays evenly down the middle.
- Put one finished sample in the center of the table.
- Allow roughly 2 ft (60 cm) of table edge per guest; decorating takes more elbow room than eating.
The sample does more than any explanation. Guests glance at it, understand the idea, and start. Keep it simple enough to be copied: a few shapes, one drawn pattern, the party colors. Standing height suits a quick project and keeps people moving; chairs suit a longer one such as a crown.
Names and the finished-pieces spot
Before any decorating starts, each guest’s name goes on the back of the blank in pencil or marker. Once ten crowns are covered in the same stars, they are hard to tell apart.
Set a tray, a basket or a marked-off corner of a side table as the place where finished pieces wait, and stand a small handwritten tent sign on it. Matching handmade favor tags are an easy alternative for bags: write the name on the tag and tie it on. A drop spot keeps finished work off the craft table, where it would be glued over or drawn on by the next guest.
Adjusting for different ages
These are general suggestions; the adults who know the guests are the best judges. For younger children, lean on stickers and large pre-cut shapes, use fewer marker colors, and expect short visits to the table. For older children, add paper strips for fringe and curls, smaller shapes for layering, and a pencil for sketching a design first. A mixed group needs both: keep the base project the same and vary what is in the trays.
Tip
Hold back half the paper shapes and stickers. Topping up the trays midway keeps the last guests from decorating with leftovers.
What the adult helper does
One adult at the table is usually enough. The job is light: check that names are on the backs, uncap a stubborn glue stick, top up shapes, move finished pieces to the drop spot, and do any closing step. For crowns that means fitting the band and sliding the tab into the slot; for hats, rolling the decorated cone and pressing the taped seam.
It helps not to correct or improve anyone’s design. A lopsided crown the guest made alone is the point of the table.
Cleanup plan
Decide where things go before the table opens. Keep a paper bag for scraps under the table and a box for supplies worth saving. Afterward, cap the markers and glue sticks first, since both dry out quickly when left open. Tip unused shapes and stickers into an envelope for the next project, lift the trays, then roll the table cover inward from both ends and discard or recycle it with the scraps inside.
Frequently asked questions
What is the easiest craft for a party craft table?
Decorating a plain paper bag or a large tag needs the least preparation, because the blank needs little or no cutting. Guests add pre-cut shapes, stickers and marker patterns, and nothing has to dry or be assembled afterward.
How many supplies does a craft station need?
Plan one tray for every two or three guests, each with a pile of pre-cut shapes, two glue sticks, four markers and a dish of stickers. Cut a generous handful of shapes per guest and two or three spare blanks.
Why use glue sticks instead of liquid glue at a craft table?
Glue sticks grab straight away and add no moisture, so a finished piece can be picked up and taken home at once. Liquid glue leaves wet patches that are often still tacky when guests leave.