Rainbow Party Crafts: Paper Decorations in Six Colors
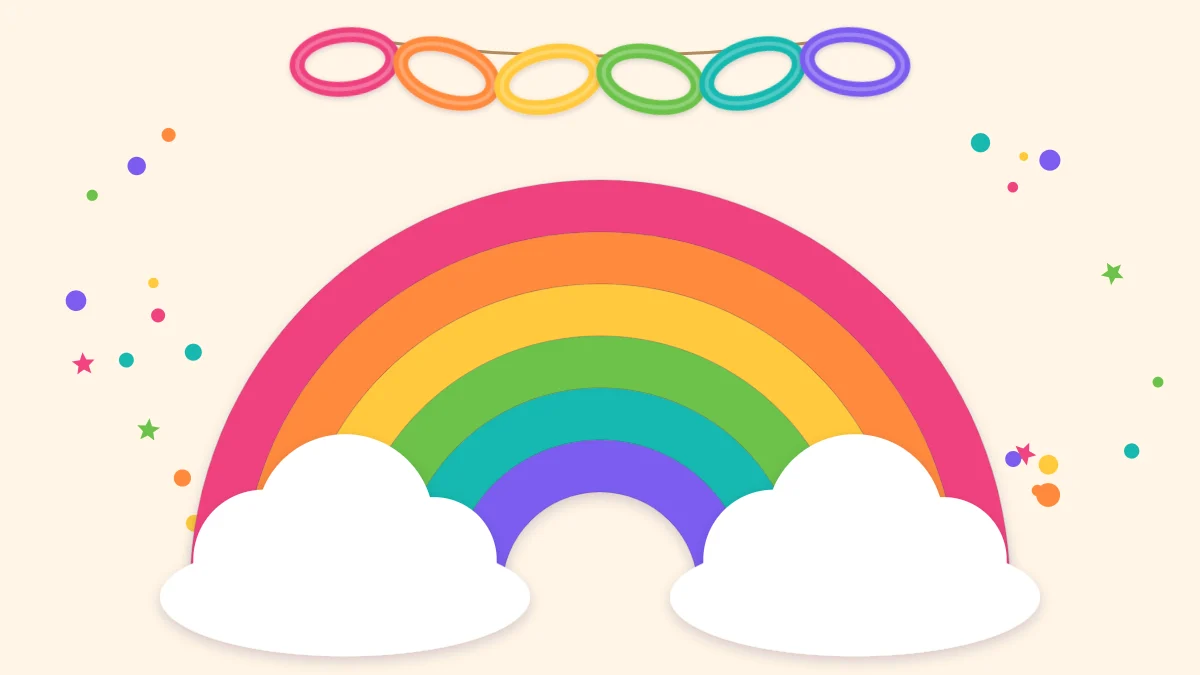
A set of rainbow paper decorations built around a layered arch: a rainbow-order banner and chain, a streamer backdrop, a cloud and raindrop mobile, and small arches for toppers and tags.
Tutorial at a glance
Materials
- Cardstock in six rainbow colors, two sheets each
- White cardstock, six to eight sheets
- White tissue paper or cotton balls (optional)
- Crepe paper streamer in six colors
- Twine or string
- White sewing thread
- Picks or paper straws for toppers
Six colors are harder to decorate with than three, and that is the whole challenge of rainbow party crafts. Done loosely, a rainbow theme turns into a room of unrelated bright paper. Done with a fixed color order and a lot of white, it looks deliberate, and the projects themselves are some of the simplest on the table: arcs, clouds, drops and strips.
The set below is built around one larger piece, a layered paper rainbow arch, with smaller decorations that repeat its colors and shapes.
How to keep six colors under control
The usual advice in the guide to choosing a party color palette is to stop at three or four colors. A rainbow breaks that advice on purpose, so three habits take its place.
- One color order, everywhere. Pick the sequence once: pink-red, orange, yellow, green, turquoise, violet. Every banner, chain and strand follows it and starts from the same end. Order is what makes six colors read as a rainbow rather than as a mix.
- Plenty of white. White clouds, white backing, white string and white space on the wall give the eye somewhere to rest.
- Two repeated shapes. The arch and the cloud appear on the wall, the table and the favors.
What you need
- Cardstock, about 65 lb (176 gsm): two sheets in each of the six colors
- White cardstock: six to eight sheets for backing, clouds and tags
- White tissue paper or cotton balls for fluffy clouds (optional)
- Crepe paper streamer in the six colors
- Twine or string, white sewing thread
- Scissors, pencil, ruler, glue stick, tacky glue, hole punch
- Round plates, bowls and cups to trace
Two sheets per color covers one arch, a 6 ft (1.8 m) banner, a mobile and a dozen toppers with offcuts to spare. Supervise children with scissors.
Layered paper rainbow arch
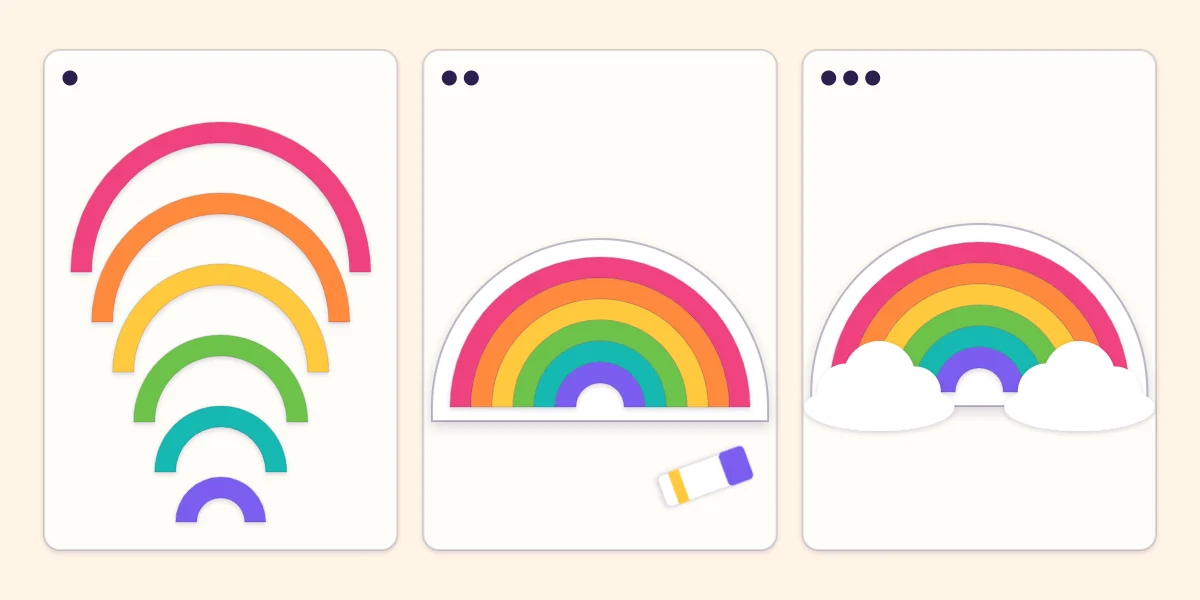
The arch is six half rings in shrinking sizes, nested on a white backing.
- Draw the outer arc. Trace half of a dinner plate, about 10 in (25 cm) across, onto the pink-red cardstock. Mark a point about 3/4 in (2 cm) inside the curve in several places, join the marks into a second, parallel curve, and cut out the half ring.
- Cut five more arcs. Use the inner edge of each arc as the pattern for the outer edge of the next, in orange, yellow, green, turquoise and violet, keeping every band about 3/4 in (2 cm) wide. Lay the six arcs out separately in order to check that they step down evenly.
- Nest and glue. Cut a white half circle slightly smaller than the pink-red arc. Glue the outer arc along its edge first, then work inward, butting each arc against the last. Starting from the outside matters: small errors then collect in the center, where a gap is easy to hide, instead of pushing the outer bands off the backing.
- Add the clouds. Cut two white clouds, each about 4 in (10 cm) wide, by drawing three or four overlapping circles around a cup. Glue one over each foot of the arch to cover the cut ends.
For softer clouds, glue scrunched white tissue or pulled-apart cotton balls onto the cardstock shapes with tacky glue. Tape a loop of thread to the back to hang the arch, or glue it to a paper straw to stand it in a jar on the table.
Rainbow banner and paper chain
A pennant banner in rainbow order uses the standard triangle, 5 in wide by 7 in tall (12.7 x 17.8 cm). Twelve pennants make about 6 ft (1.8 m) of banner, which is exactly two runs of the six colors. The cutting and stringing steps are in the paper pennant banner tutorial; the only change here is to stack the pennants in order before stringing so the sequence never slips.
A paper chain is quicker still. Cut strips about 1 x 8 in (2.5 x 20 cm), close the first into a ring with a glue stick or a staple, and thread each new strip through the last before closing it.
Rainbow streamer backdrop
For a wall behind the table, tape lengths of crepe paper streamer side by side to a piece of string, working from pink-red to violet and repeating the run as often as the wall needs. Leave a finger’s width between strips so the wall shows through as white. Two or three paper clouds along the top hide the string and tape. Twists, fringe and other treatments are covered in the guide to paper streamer ideas.
Safety note
Keep streamers and all paper decorations well away from candles and heat. Use a removable hanging method and test it on a hidden spot first.
Cloud and raindrop mobile
The mobile is one cloud with six strands of raindrops, one strand for each color.
- Cut two matching white clouds about 8 in (20 cm) wide.
- Cut four or five teardrops, each about 1.5 in (4 cm) tall, from every color. Fold a strip into layers and cut several at once.
- Cut six threads about 16 in (40 cm) long. Glue the drops of one color down each thread with a glue stick, spaced a drop’s height apart.
- Tape the top of each thread to the back of one cloud, evenly spaced and in rainbow order, then glue the second cloud on top to hide the tape.
- Punch a hole in the top and hang the mobile from a thread.
If the strands twist, the bottom drop is too light. A double-layer drop at the end of each thread keeps it hanging straight.

Small arches for toppers and favor tags
A miniature arch carries the theme to the table. Three bands are enough at this size: cut half rings from a bottle cap and two coins, or simply glue three short curved strips onto a white circle about 2 in (5 cm) across. Sandwich a pick between that circle and a plain back circle, as shown in the guide to paper cupcake toppers. Toppers come off before eating.
For favor tags, glue the same mini arch to the lower half of a white tag and leave the upper half blank for a handwritten name.
Rainbow pieces by effort
| Piece | Effort | Rough time |
|---|---|---|
| Paper chain | Very easy | About 20 minutes |
| Streamer backdrop | Easy | About half an hour |
| Rainbow pennant banner | Easy | About 45 minutes |
| Toppers and tags | Easy, repetitive | About an hour for a dozen |
| Layered arch | Moderate | About 45 minutes |
| Cloud mobile | Moderate | About an hour |
Frequently asked questions
What order do rainbow colors go in for decorations?
Red or pink-red, orange, yellow, green, blue or turquoise, then violet. The exact shades matter less than using the same order on every piece and starting from the same end, which is what makes the set read as a rainbow.
How do you draw a rainbow arch without a compass?
Trace half of a dinner plate for the outer curve, mark points about 3/4 in (2 cm) inside it and join them into a second curve. Cut that half ring out, then use its inner edge as the pattern for the next color.
How do you stop a rainbow theme from looking too busy?
Use a lot of white, keep the color order identical everywhere and repeat just two shapes, the arch and the cloud. White backing, clouds and string give the six colors room to stand out.