Paper Circle Garland: Glued and Sewn Versions
Cut cardstock circles and join them on thread with a glue stick or a sewing machine, then hang the strands as a dotted curtain or a horizontal garland.
Tutorial at a glance
Materials
- Cardstock in three or four colors, about 65 lb (176 gsm)
- Sewing thread or thin string
- Glue stick
- Scrap cardboard for winding strands
- A coin or extra cardstock to weight vertical strands
A paper circle garland is a line of colored dots on a thread. Hung vertically in rows it becomes a curtain for a doorway or a backdrop; hung horizontally it swags like a lighter, quieter banner. There are two ways to build one. The glued version needs nothing but a glue stick and patience, and the sewn version runs the circles through a sewing machine in a few minutes.
Both start with the same pile of circles, and cutting them is most of the work.
What you need
- Cardstock, about 65 lb (176 gsm), in three or four colors
- A circle punch about 2 in (5 cm) across, or a jar lid, pencil and scissors
- Sewing thread, or thin string for larger circles
- Glue stick (glued version) or a sewing machine (sewn version)
- Ruler
- Scrap cardboard for winding finished strands
Cardstock is a better choice than thin paper here. Light paper curls once glue touches it, and single circles of it twist and flutter where cardstock hangs flat.
Cut the circles
A circle punch is the fast route and gives identical dots. Punch a row along one edge, trim that edge off and punch the next row, so little paper is wasted.
Without a punch, trace a jar lid. To speed things up, fold a strip of cardstock into three layers, trace the lid on the top layer and cut through all three at once, holding the stack firmly so the layers do not slide. More than three layers of cardstock pushes the scissors off line and produces lopsided circles.
The glued build uses two circles for every dot, the sewn build uses one. For circles about 2 in (5 cm) across spaced 1 in (2.5 cm) apart, a 6 ft (1.8 m) strand holds about 24 dots: 48 circles glued, 24 sewn. A sheet of letter cardstock yields about 20 circles of that size.
The no-sew glued method
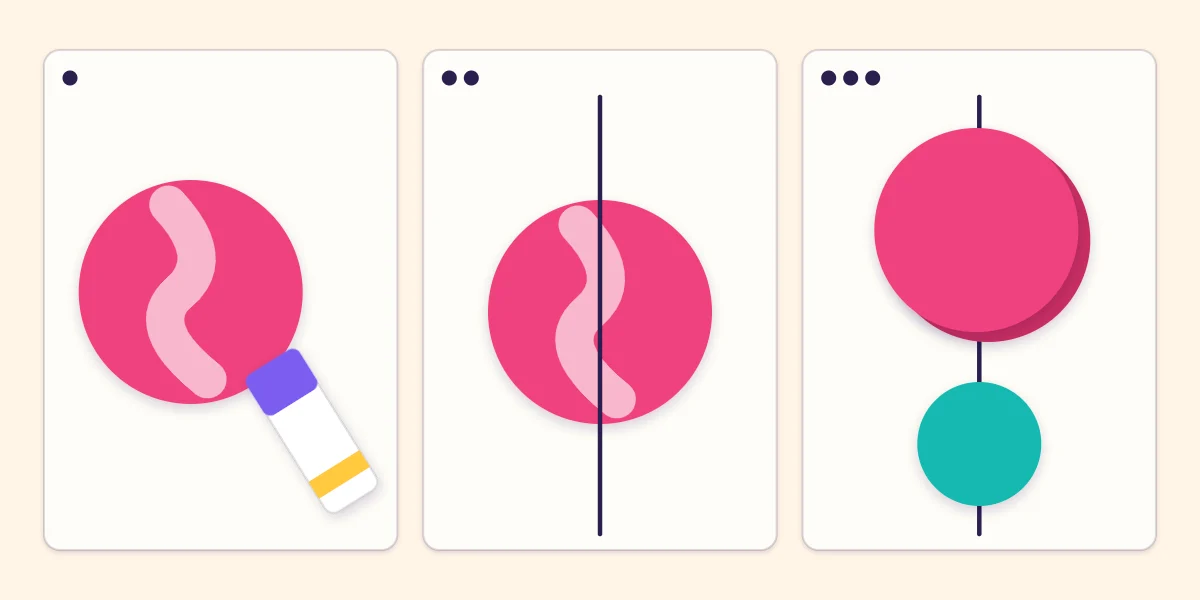
- Glue the first circle. Lay it face down and swipe glue stick across the whole back, right to the edge. Bare edges are where a dot starts to peel open.
- Lay the thread across the middle. Leave about 12 in (30 cm) of bare thread above the first circle for hanging, and keep the thread running through the center so the dot hangs level.
- Press a second circle on top. Line up the edges and rub firmly, so the thread is sandwiched between the two. Then measure down the thread and start the next dot.
Work on a long table or the floor with the thread laid out straight, and prepare the lower circles in a row before you begin so the spacing can be judged by eye. Let the strand lie flat for about ten minutes before lifting it; a glue stick bond is weak until it dries, and a strand lifted early sheds its lowest dots.
The sewn method
Set the machine to a medium straight stitch and pull out a long tail of thread before starting. Feed the first circle under the presser foot and sew straight across its center. When the needle runs off the far edge, keep sewing for a few stitches with no paper, which forms a short chain of twisted thread, then feed in the next circle. Butting the circles close together gives a dense chain; a longer run of empty stitches spaces them out.
Do not pull the paper through. Guide it and let the machine set the pace, or the stitches stretch and the circles pucker. Operating the machine is an adult job.
| Glued | Sewn | |
|---|---|---|
| Circles per dot | Two | One |
| Speed | Slow, about half an hour per strand | Fast, a few minutes per strand |
| Look | Color on both sides, no stitching | A visible stitch line, dots that spin |
| Spacing | Any gap you like | Best with short gaps |
| Strength | Dots can peel if glue is thin | Very secure |
Size, spacing and color
Circles between 1.5 and 3 in (4 and 7.5 cm) across suit most rooms. Smaller dots disappear from a distance, and larger ones start to behave like pennants and need string instead of thread. Mixing two or three sizes on one strand looks livelier than a single size, provided the order is repeated on every strand.
Gaps of about half a circle’s width look balanced. Much wider gaps leave long stretches of bare thread that tangle easily. Repeat colors in a fixed sequence, or shade each strand from dark at the top to pale at the bottom for a curtain.
Tip
For a glued garland with a different color on each side, pair the circles before you start. The strand then shows a new pattern each time it turns.
Hanging strands so they stay straight
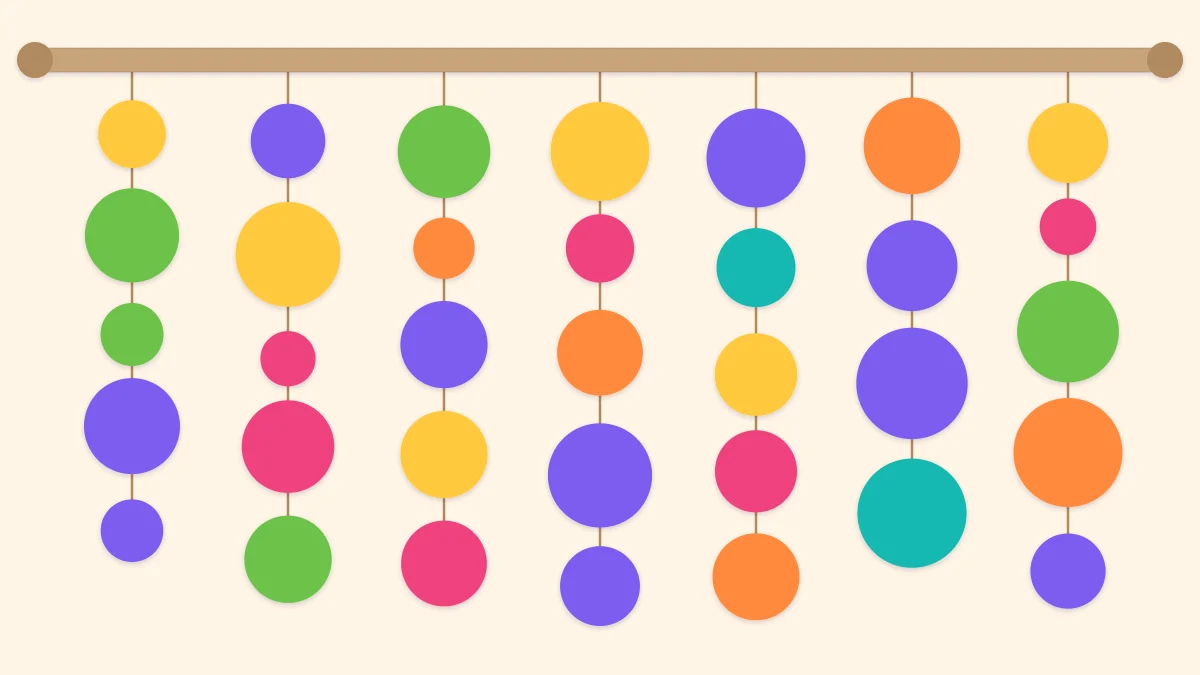
For a curtain, tie the strands about 4-6 in (10-15 cm) apart along a length of string, a dowel or a tension rod, and stagger the starting height of the first dot so the circles do not line up in rows. Seven strands cover a doorway.
Vertical strands curl upward at the bottom because thread has a memory from the spool. A little weight cures it: make the last dot from three or four layers of cardstock, or glue a coin between the final pair of circles. Horizontal garlands need no weight, only a gentle swag and a fixing at each end, as with a paper pennant banner. Use a removable hanging method and test it on a hidden spot first.
Stars, hearts and other shapes
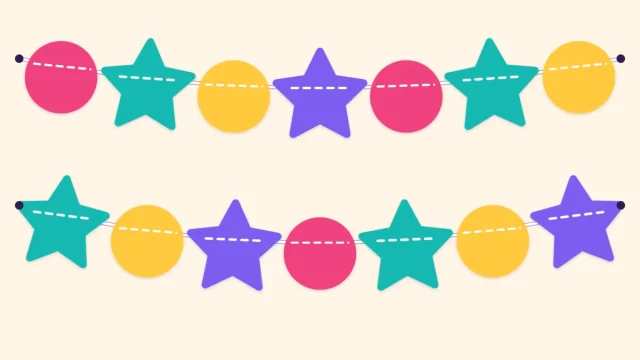
Any flat shape can replace the circle. Stars and hearts are heavier at the top than at the bottom, so run the thread through the widest part of the shape or it will tip forward. Glue is the safer build for pointed shapes, since narrow star points tear along a line of stitching. Alternating circles with one other shape keeps the garland readable; the space party crafts guide turns the same circles into striped and ringed planets.
Preventing tangles
Thread garlands tangle the moment two strands touch. As each strand is finished, wind it around a piece of scrap cardboard about 4 x 6 in (10 x 15 cm) with a notch cut in each end, tucking the thread tail into a notch. Use one card per strand, and move the garlands to the party room on their cards.
The same cards work for keeping the garland afterward. The guide to storing reusable party decorations covers boxes and labeling.
Frequently asked questions
How many circles do you need for a paper circle garland?
With circles about 2 in (5 cm) across and 1 in (2.5 cm) gaps, a 6 ft (1.8 m) strand holds about 24 dots. The glued version uses two circles per dot, so cut 48; the sewn version uses 24. Multiply by the number of strands for a curtain.
Can you make a circle garland without a sewing machine?
Yes. Cover the back of one circle with glue stick, lay the thread across its middle and press a second circle on top so the thread is trapped between them. It takes longer than sewing but allows any spacing and shows color on both sides.
Why do the strands curl up at the bottom?
Thread keeps the curve of the spool and paper circles are too light to pull it straight. Add weight to the last dot by making it from several layers of cardstock or by gluing a coin between the final two circles.