Birthday Party Crafts for Beginners: Supplies and First Projects
A short starter kit, three first projects that share the same paper and tools, and a simple rule for making handmade decorations look like one set.
Tutorial at a glance
Materials
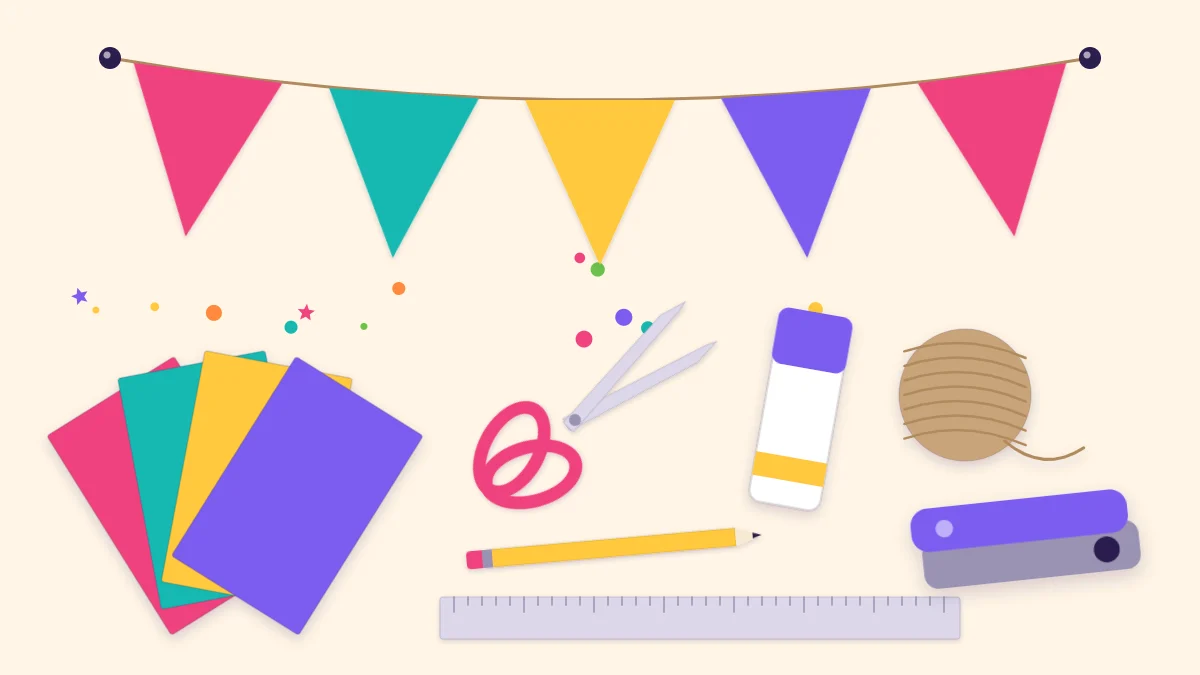
- Cardstock in three colors, about 65 lb cover (176 gsm)
- Tissue paper, a few standard sheets per color
- String or twine
- Glue stick
- Double-sided tape
- Toothpicks for cupcake toppers
Birthday party crafts for beginners come down to a short list of supplies and a handful of skills: cutting a clean edge, folding on a line and sticking two pieces of paper together so they stay stuck. With those, you can make a banner, decorate a table and wrap a set of favors for a home party without any special equipment.
The quickest way to start is to pick three small projects that use the same paper and the same tools, finish them, and only then decide whether the room needs more. This page covers the starter kit, the three projects worth making first, and how to keep everything looking like it belongs together.
What counts as a birthday party craft
On this site the term covers anything handmade that dresses the party, and it falls into four groups:
- Decorations for walls and ceilings: banners, garlands, paper rosettes, tissue pom-poms and streamers.
- Table pieces: centerpieces, place cards, cupcake toppers and small signs.
- Wearables: cone party hats and paper crowns.
- Favor packaging: decorated bags, small boxes and tags.
Nearly all of it is made from paper, which is why a beginner can get good results fast. Paper is cheap, forgiving and easy to replace when a cut goes wrong.
The starter kit
Nine items cover most of the projects here. Check the drawers before buying anything, because half of the list is ordinary desk supplies.
- Cardstock in three colors, US letter size, 8.5 x 11 in (21.6 x 27.9 cm). A weight of about 65 lb cover (176 gsm) is a common choice: stiff enough to hang flat, light enough to cut with scissors. A4 sheets work the same way.
- Tissue paper, a few standard sheets per color, for fringe, tassels and pom-poms.
- String or twine to hang banners and tie tags.
- Scissors that are sharp along the whole blade.
- A ruler and a pencil for measuring and marking.
- A glue stick for flat paper layers.
- Double-sided tape for anything that has to hold at once.
- A hole punch for threading and for tags.
Two skills matter more than any tool. The first is cutting and folding accurately, which the guide on how to cut, score and fold paper explains step by step. The second is choosing an adhesive that suits the material: a glue stick that holds two paper circles together will not close a cone hat. The guide to glue and tape for party crafts lists which one sticks to what.
Safety note
Supervise children with scissors, and keep craft knives and hot glue as adult tools. None of the first projects below needs either one.
Three first projects that share supplies
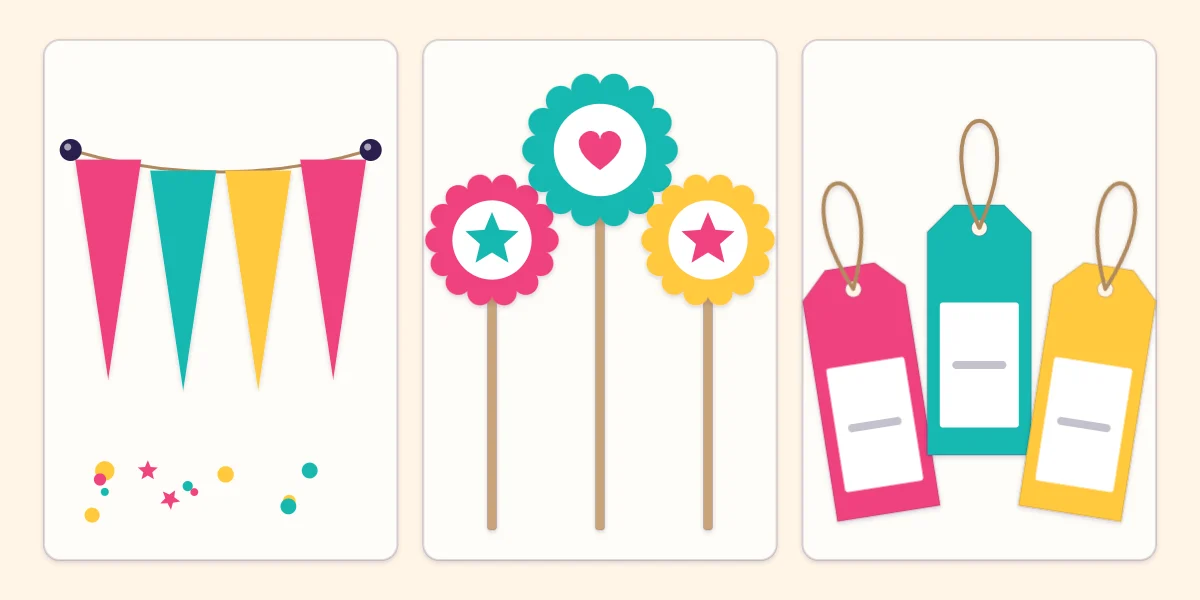
A pennant banner, a set of round cupcake toppers and a set of favor tags make a good first trio. All three are flat shapes cut from the same cardstock, so the three colors bought for one project cover the other two, and the offcuts from the banner are big enough for the toppers and tags.
Make the banner first. A paper pennant banner is a row of triangles, each about 5 in wide x 7 in tall (12.7 x 17.8 cm), and about 12 of them fill a 6 ft (1.8 m) length of twine. Cutting a dozen identical triangles is good practice at following a pencil line, and the result is the largest decoration in the room for the least effort.
The toppers come next: circles about 2 in (5 cm) across, traced around a small lid, with a toothpick sandwiched between a front and a back circle. Toppers are paper decorations, so they come off the food before anyone eats. Finish with the tags, which are small rectangles with two corners clipped off, a punched hole and a loop of twine. Write on each tag before tying it on.
Cut all three in the same pink, turquoise and yellow, as shown below, and the banner, the table and the favors read as one set.
First projects by difficulty
When the first three are done, this table shows what to try next and what each project adds to the kit.
| Project | Difficulty | What it needs |
|---|---|---|
| Favor tags | Easiest | Cardstock, scissors, hole punch, twine |
| Pennant banner | Easy | Cardstock, scissors, ruler, glue stick, twine |
| Round cupcake toppers | Easy | Cardstock, toothpicks, a lid to trace, glue stick |
| Cone party hats | Easy | Cardstock, double-sided tape, thin elastic or ribbon |
| Tissue pom-poms | Easy, takes patience | 8-10 tissue sheets each, string |
| Paper rosettes | Intermediate | Cardstock strips, strong glue, a scoring tool |
How far ahead to start
Flat paper decorations keep well, so there is no reason to make them the night before. A comfortable plan is to gather supplies about two weeks ahead, cut and assemble the flat pieces over one or two evenings in the week before, and leave only hanging and fluffing for the day itself.
Store finished banners wound loosely around a piece of cardboard and keep toppers and tags flat in a box. Tissue pieces are the exception: fold and tie pom-poms early, but open them out on the day, because a fluffed pom-pom crushes easily.
Tip
Cut one extra of everything. A spare pennant or tag costs a minute now and saves starting over when one tears or a name is misspelled.
Three colors and one shape
Handmade decorations look planned when they repeat. Choose three colors and use them for every piece, adding white or kraft brown as a neutral. Resist adding a fourth color halfway through because a nice sheet turned up; it is the most common reason a table ends up looking busy.
Then choose one shape and repeat it too. If it is a star, put a small star on each topper, punch or cut one for each tag, and glue a few to the banner. A circle or a simple flower works just as well. The repeated shape ties together pieces that are different sizes and sit in different parts of the room.
Where to go after the first three
Once the banner is up, the next question is how much more the room needs. Usually the answer is less than expected: one decorated wall, something overhead and the table. The guide to planning handmade decorations for a whole room sets out those zones and a sensible order to make things in.
From there, add one new technique at a time. Accordion folding leads to rosettes and fans, and working with tissue leads to tassels and pom-poms. Each one reuses the kit above.
Frequently asked questions
What supplies are needed to start making birthday party crafts?
Cardstock in three colors, a few sheets of tissue paper, string or twine, scissors, a ruler, a pencil, a glue stick, double-sided tape and a hole punch cover most beginner projects. Many of these are ordinary desk supplies, so check what is already in the house first.
Which birthday decoration is easiest to make first?
Favor tags are the simplest, but a paper pennant banner is the best first project because it fills the most space for the least effort. It is a row of identical triangles on a length of twine, and about 12 pennants make a 6 ft (1.8 m) banner.
How far in advance can paper party decorations be made?
Flat cardstock pieces such as banners, toppers and tags can be made a week or more ahead and stored flat or wound around cardboard. Tissue pom-poms can be folded and tied early, but are best opened out on the day because they crush easily once fluffed.