DIY Birthday Party Signs: Welcome, Table and Door Signs
Make a welcome sign, tented table signs and an arrow sign from poster board and cardstock, with layout habits that keep hand lettering readable from across the room.

Tutorial at a glance
Materials
- White poster board or foam board
- Cardstock in two or three colors, about 65 lb (176 gsm)
- Heavier cardstock for tent signs, about 80-110 lb (216-300 gsm)
- Thick dark marker
- Glue stick and double-sided tape
- Ribbon or twine
- Flat craft stick or paper straw for the arrow sign
- Optional: clipboard or empty picture frame as a holder
DIY birthday party signs do a practical job before they do a decorative one: they tell guests they have found the right door, which table holds the food and where the craft activity is. A home party rarely needs more than three kinds, a welcome sign, a few small table signs and an arrow that points the way, and all three can be made from poster board and cardstock in an evening.
The lettering is yours to write or cut. What matters far more than neat handwriting is layout: few words, thick strokes, strong contrast and plenty of empty space around them.
What you need
- White poster board or foam board for the welcome sign
- Cardstock, about 65 lb (176 gsm), in two or three party colors, plus heavier cardstock, about 80-110 lb (216-300 gsm), for tent signs that must stand
- A thick marker in a dark color, a pencil and a soft eraser
- Ruler, scissors, glue stick and double-sided tape
- Something to score with: a bone folder or an empty ballpoint pen
- Ribbon or twine, a hole punch and a flat craft stick or paper straw for the arrow
- Optional reusable holder: a clipboard or an empty picture frame
Choose the signs you actually need
Walk the route a guest takes from the street to the table and note each point where someone might hesitate. Those are the sign locations.
| Sign | Suggested size | Holder |
|---|---|---|
| Welcome sign | About 11 x 14 in (28 x 36 cm) or larger | Easel back, small easel, frame or ribbon hanger |
| Table sign | About 5 x 3.5 in (12.7 x 9 cm) when folded | Tent fold |
| Arrow sign | About 10 x 4 in (25 x 10 cm) | Craft stick stake in a jar or pot, or taped flat |
| Round door sign | About 8 in (20 cm) across | Ribbon hanger |
Keep the wording to types rather than sentences: a greeting plus the name and age on the welcome sign, one or two words naming each table, a single word or just the arrow shape for directions.
Lay out lettering that reads from a distance
- Mark the margins. Rule a light pencil border about 1.5 in (4 cm) in from every edge of a welcome sign. Words that run to the edge look cramped and are harder to read than smaller words with space around them.
- Rule guidelines. Draw a baseline and a top line for each row of words. Without them, handwriting drifts uphill and the letters shrink toward the right.
- Sketch in pencil first. Start with the middle letter of each word at the center of the line and work outward in both directions. This centers the word without any arithmetic.
- Thicken the strokes. Go over the pencil with the marker, then draw a second line beside every downstroke and fill the gap. Thin strokes vanish at 10 ft (3 m); doubled strokes do not.
- Erase last. Wait a few minutes for the ink to dry, then remove the guidelines. Erasing too early drags gray smears across the board.
Contrast does the rest. Dark ink on white or pale yellow is the most readable combination, and pale letters on a mid-tone background are the weakest. If the party already has a scheme, take the sign colors from it; the guide to choosing a color palette for handmade decorations explains how to pick a main color and an accent.
Tip
Prop the penciled sign against a wall and step back across the room before inking. If the main word is not readable from there, it needs to be bigger or the sign needs fewer words.
Cut-paper letters instead of handwriting
If hand lettering feels risky, cut the letters from cardstock. Draw each one as a plain block letter inside a rectangle of the same height, about 2 in (5 cm) tall for a welcome sign, keeping every stroke the same thickness.
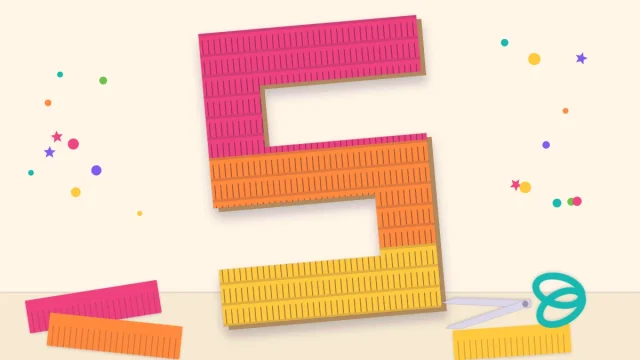
Arrange all the letters on the board before gluing any of them. Cut letters can be nudged until the spacing looks even, which is their big advantage over ink. The same block style scales up: a giant cardboard birthday number standing beside the door works as a companion to the welcome sign.
Borders, mats and paper decorations
A layered mat makes a plain sign look finished. Cut a piece of colored cardstock or poster board about 1/2 in (12 mm) larger on every side than the lettered panel and glue the panel to its center.
Decoration belongs in the margins, not between the words. A row of small pennants glued across the top and a paper star in two corners is enough for a welcome sign.
Three ways to stand or hang a sign
Tent fold. Cut heavy cardstock to twice the finished height, about 5 x 7 in (12.7 x 17.8 cm), score across the middle and fold. Scoring matters here: an unscored fold in heavy cardstock cracks and the tent leans. If the tent splays flat on a smooth table, join the two bottom edges with a strip of cardstock taped underneath.
Easel back. Cut a strip of heavy cardstock or thin cardboard about a third of the sign’s width and two thirds of its height. Score it 1 in (2.5 cm) from the top, glue that flap to the back of the sign and let the rest swing out as a leg. An arrow sign uses a simpler support: tape and glue a flat craft stick to the back as a stake and push it into a jar of sand or a plant pot.
Ribbon hanger. Punch two holes near the top edge, at least 1/2 in (12 mm) in so they do not tear, and knot a ribbon through them. For a door, hang the ribbon from an existing hook or use a removable hanging method tested on a hidden spot first.

Fixing common sign problems
- The words run out of room. Turn the board over and letter from the center outward this time.
- The board warps. Liquid glue spread over a large area is the usual cause. The glue and tape guide covers which adhesive suits which material.
- The sign tips over. Widen the angle of the easel leg, or tape a coin to its foot for weight.
Keep paper signs clear of candles and other heat sources on the table.
Frequently asked questions
How big should a birthday welcome sign be?
About 11 x 14 in (28 x 36 cm) is a workable minimum for a sign read at a doorway. If guests need to spot it from the street or across a yard, go larger and cut the wording down rather than shrinking the letters. Test it by propping the penciled sign up and stepping back.
What can you use if your handwriting is not neat?
Cut plain block letters from cardstock instead. Draw each letter inside a rectangle of the same height with strokes of even thickness, cut them out and arrange the whole word on the board before gluing. Because cut letters can be moved until the spacing looks right, the result is usually more even than ink.
How do you keep a folded tent sign from falling flat?
Use heavier cardstock and score the fold line before folding so the crease is sharp. If the tent still splays on a smooth table, tape a short strip of cardstock between the two bottom edges to hold them at a fixed distance.