How to Make a Tissue Paper Tassel Garland
Turn one sheet of tissue paper into one tassel by cutting fringe, rolling the uncut center and twisting it into a loop, then string a dozen on twine.

Tutorial at a glance
Materials
- 12 standard sheets of tissue paper in four or five colors
- About 8 ft (2.4 m) of twine, string or narrow ribbon
- Glue stick or clear tape for securing the necks (optional)
One sheet of tissue paper makes one tassel, and about a dozen tassels on a length of twine make a tissue paper tassel garland long enough for a wall or the front of a table. There is no gluing to speak of and no measuring beyond the width of the fringe. The whole method is fold, cut, unfold, roll and twist.
Tissue is fragile, which is the only real difficulty. Sharp scissors and a light touch when separating the fringe matter more than precision.
What you need
- Tissue paper, one standard sheet per tassel, in four or five colors
- Twine, string or narrow ribbon, about 8 ft (2.4 m) for a 6 ft (1.8 m) garland
- Sharp scissors
- Ruler
- Glue stick or a small piece of clear tape (optional, for securing the necks)
Standard sheets are commonly about 20 x 26 or 20 x 30 in. Either works, and the longer sheet simply makes a longer tassel. For a smaller garland along a shelf or a chair back, cut each sheet in half first and follow the same steps.
How many tassels you need
A full-sheet tassel is about 2-3 in (5-7.5 cm) wide once fluffed. Spaced so they just touch, a 6 ft (1.8 m) garland takes 15 to 18 tassels. With gaps of about 2 in (5 cm) between them, 12 is enough.
| Garland length | Spaced tassels | Touching tassels |
|---|---|---|
| 3 ft (0.9 m) | About 6 | About 8 to 9 |
| 6 ft (1.8 m) | About 12 | About 15 to 18 |
| 9 ft (2.7 m) | About 18 | About 23 to 27 |
Cut, roll and twist one tassel
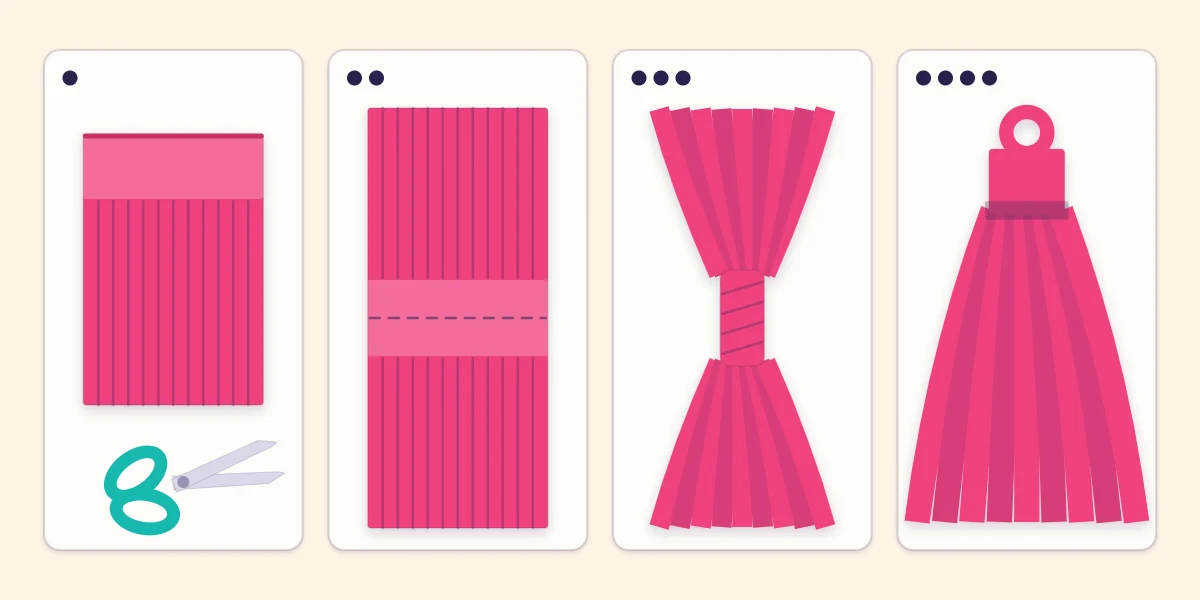
- Fold and cut the fringe. Fold the sheet in half so the short edges meet, with the fold at the top. Fold it in half again the other way, side to side, which halves the cutting. Starting at the open bottom edge, cut straight up in strips about 1/2 in (12 mm) wide, stopping about 1.5 in (4 cm) below the top fold. That uncut band holds the tassel together, so stop every cut at the same height.
- Unfold. Open the side fold, then open the top fold and lay the sheet flat. Fringe now extends on both sides of an uncut band about 3 in (7.5 cm) wide running across the center.
- Roll the center band. Starting at one end of the band, roll it up tightly along its length, straightening the fringe as you go so the strips do not get caught in the roll. The result is a narrow rod with fringe at both ends.
- Twist and loop. Twist the rod firmly several times so it tightens like a rope, fold it in half to bring the two bunches of fringe together, and twist the two halves around each other just below the fold. This leaves a small loop at the top for the twine.
A loosely rolled band gives a fat, soft neck that unravels. If the rod feels spongy, unroll it and start again with more tension; tissue tolerates being rolled twice but not a third time.
Secure the neck
The twist often holds on its own. For a garland that will be handled or moved, lock it. Cut a strip of the same tissue about 1 x 4 in (2.5 x 10 cm), wrap it tightly around the twisted neck and fix the end with a dab of glue stick. A narrow band of clear tape does the same job faster, though it shows a little. Either way, keep the loop above the wrap open enough for the twine to pass through.
Cut several sheets at once
Three or four sheets can be stacked, folded and cut together, which turns a dozen tassels into three or four rounds of cutting. Keep the stack aligned at the top fold and hold it flat with your free hand close to the scissors. More than four sheets tends to slip, and the lower layers end up with ragged, uneven fringe.
Peel the sheets apart one at a time after cutting, then unfold and roll each one separately.
Tip
Dull scissors chew tissue instead of cutting it. If the fringe edges look torn, the blades are pushing the layers rather than slicing them, so cut fewer sheets at once or change scissors.
String, space and choose a color order
Thread the twine through the loops in the order you want and slide the tassels into position. They stay movable, so spacing can be adjusted after the garland is up. To fix a tassel in place, tie the twine in a single knot through its loop.
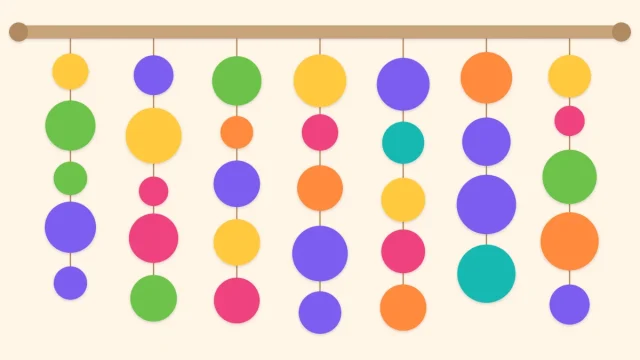
A repeating sequence of four or five colors is the classic look. Blocks of two or three tassels in one color give a bolder stripe. Metallic or patterned tissue works best as an accent, about one tassel in four or five; more than that and the plain colors start to look dull beside it. Foil-finish sheets are stiffer and slippery, so wrap their necks rather than relying on the twist. The same sheets fold into tissue paper pom-poms if you want a matching overhead piece, and a paper circle garland hung just below adds a second, flatter layer.
Hang the garland with a gentle swag using a removable method tested on a hidden spot first. Tissue burns very easily, so keep it well away from candles, bulbs and other heat sources.
Fluff the fringe and fix problems
Once the garland is hanging, run your fingers down through each tassel to separate strips that have stuck together, then shake it gently. Pull from near the neck, not from the tips, which tear off.
- The tassel untwists. The roll was too loose or the neck was not twisted far enough. Retwist and add a wrap of tissue or tape.
- Strips fall off. A cut ran into the center band. Stop the cuts lower on the next sheet; the damaged tassel can be rolled with the weak section on the inside.
- The tassels look thin. Narrower fringe looks fuller, or hang them closer together.
Storing the garland
Tassels survive storage if nothing presses on them. Hang the garland from a hanger inside a closet, or lay it loosely in a shallow box with the tassels side by side and the twine zigzagged between them. Do not stack anything on top; crushed tissue keeps its creases. For another decoration from the same supplies, see the paper streamer ideas guide, which includes a fringed streamer.
Frequently asked questions
How many tassels do you need for a 6 ft garland?
About 12 full-sheet tassels with small gaps between them fill a 6 ft (1.8 m) garland. If you want the tassels to touch and hide the twine, plan on 15 to 18.
How wide should the fringe on a tissue tassel be?
Strips about 1/2 in (12 mm) wide are a good balance. Narrower fringe looks fuller but tears more easily and takes longer to cut, while wider strips hang flat and look sparse.
Why do tissue tassels come untwisted?
Usually the center band was rolled too loosely, so the neck has nothing firm to grip. Roll the band tightly, twist it several times before folding, and wrap the neck with a small strip of tissue fixed with glue stick, or a narrow band of clear tape.